The basic concept of synchronous scrolling is the way to arrange two Excel workbooks side by side and scroll through them both at the same time. The synchronous scrolling is useful for spot-checking Excel workbooks for version control issues and making visual comparisons between workbooks with similar formats or layouts. It might not be the best primary quality assurance tool but it is a quick and effective way to perform preliminary checks and identify potential issues before having a deeper analysis.
In this Excel tutorial, you will learn to enable and use synchronous scrolling.
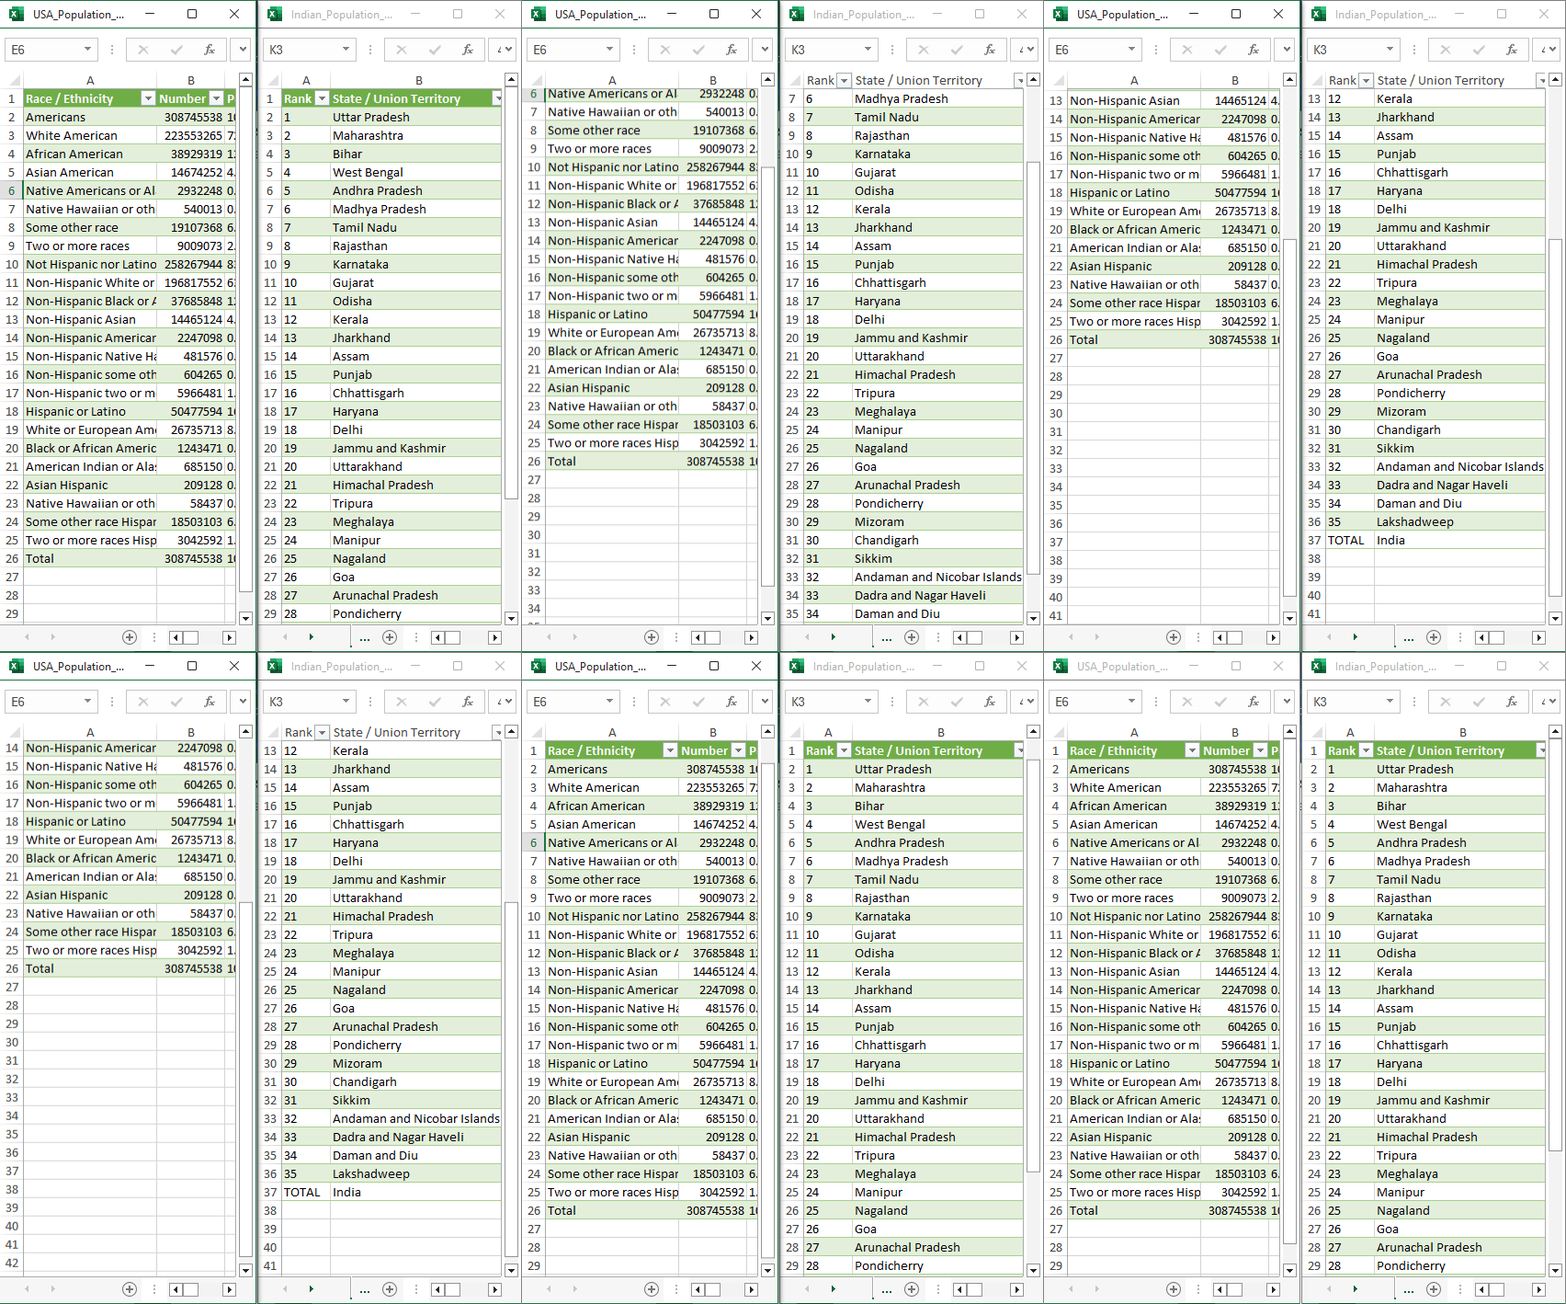
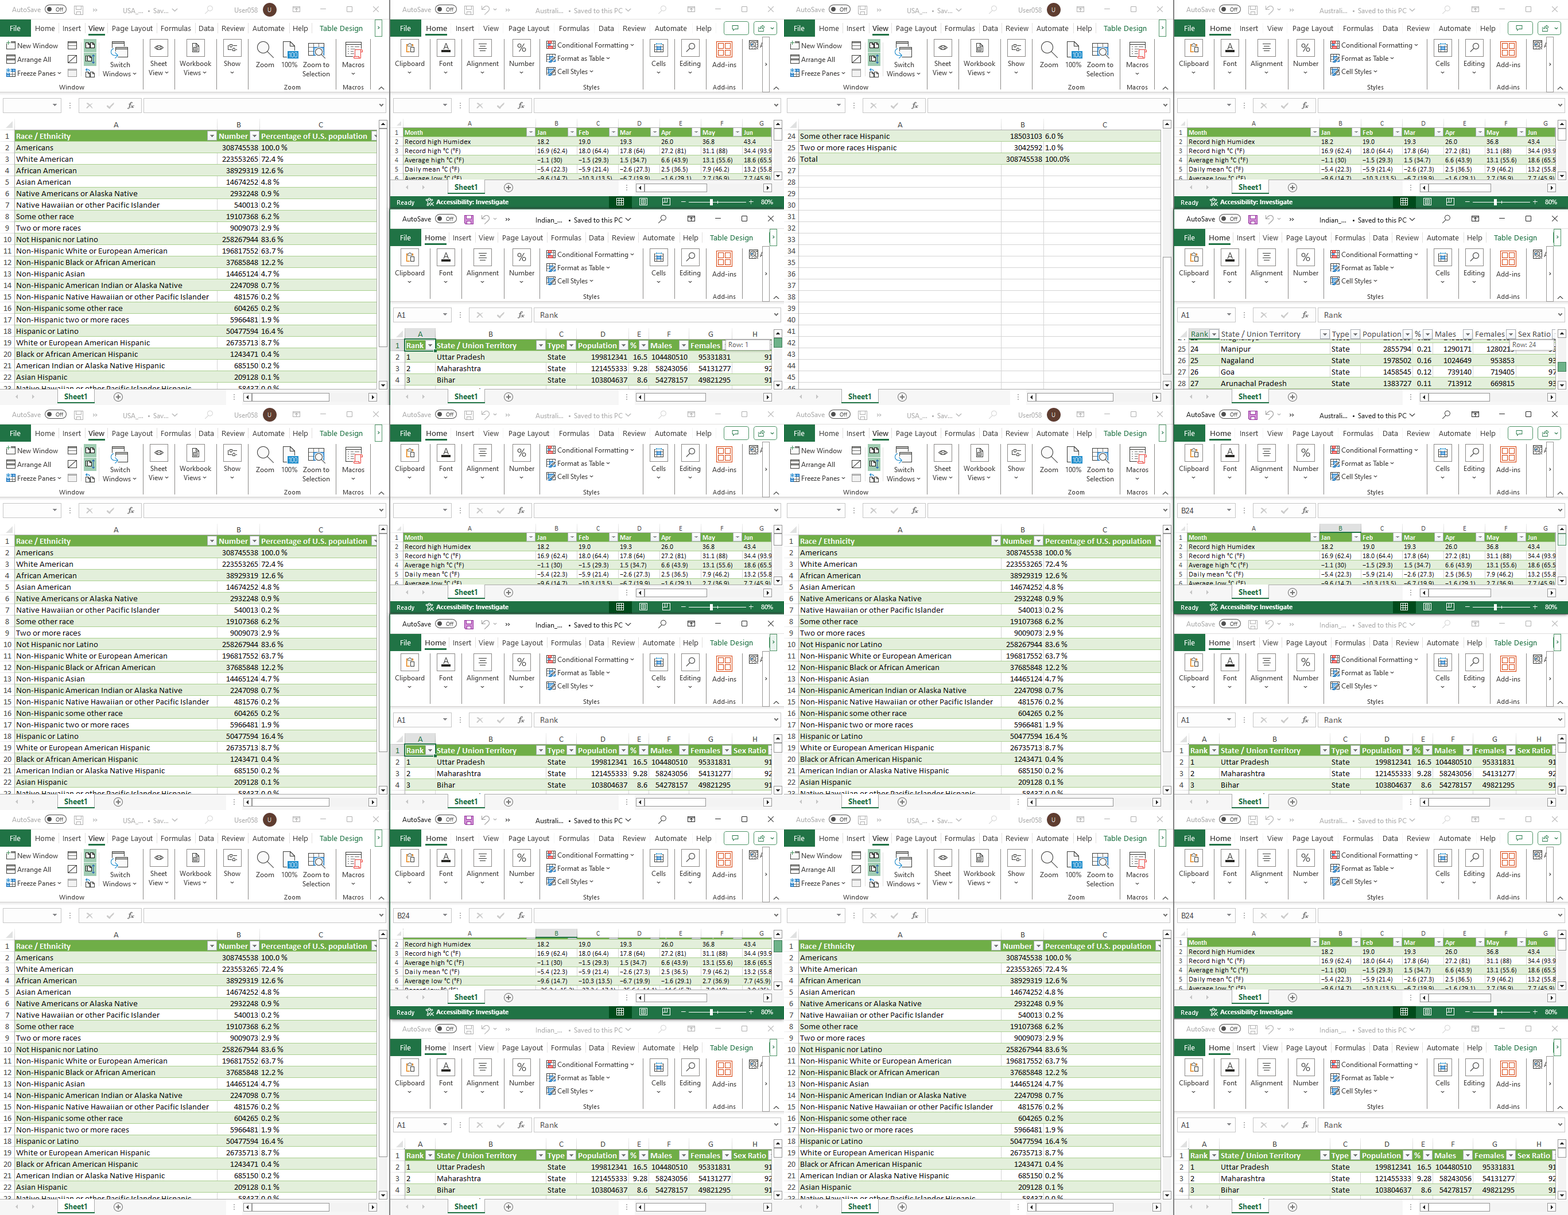
The below GIF shows how you can scroll between two workbooks namely Indian Population Distribution, and USA Population Distribution with synchronous scrolling.
Download Practice Workbooks
Enabling and Using Synchronous Scrolling in Excel: 2 Cases
To enable synchronous scrolling, you can use the Synchronous Scrolling command in Excel. You can use synchronous scrolling in two worksheets of the same workbook or two different workbooks.
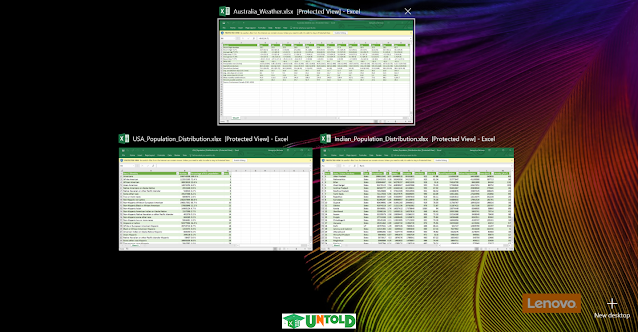
In this tutorial, I will work with three different workbooks namely: Indian Population Distribution, Australia Weather, and USA Population Distribution.
Here are 2 cases of using synchronous scrolling:
Case 1: Synchronous Scrolling Between Two Excel Workbooks
Consider that you have two Excel workbooks, each containing population data for different regions. You want to perform a comparison analysis to identify trends and patterns by viewing and scrolling them simultaneously.
To scroll through two Excel workbooks at the same time using synchronous scrolling, follow the below steps:
- Open both workbooks that you want to compare.
- Click View tab > Window group > View Side by Side to display both windows.
- Now under the Window group in View tab, click Synchronous Scrolling to activate if it’s already not activated automatically.
Note: If activated, the Synchronous Scrolling command will be shaded (like the above image), you can turn it on or off by clicking on it. The Synchronous Scrolling button is only available if View Side by Side is activated. - If necessary, click Arrange All under Window to choose your preferred arrangements.
As a result, the workbooks will stack vertically or side-by-side, as given in the below GIF. Now, you can view and scroll both Excel workbooks simultaneously and compare them.
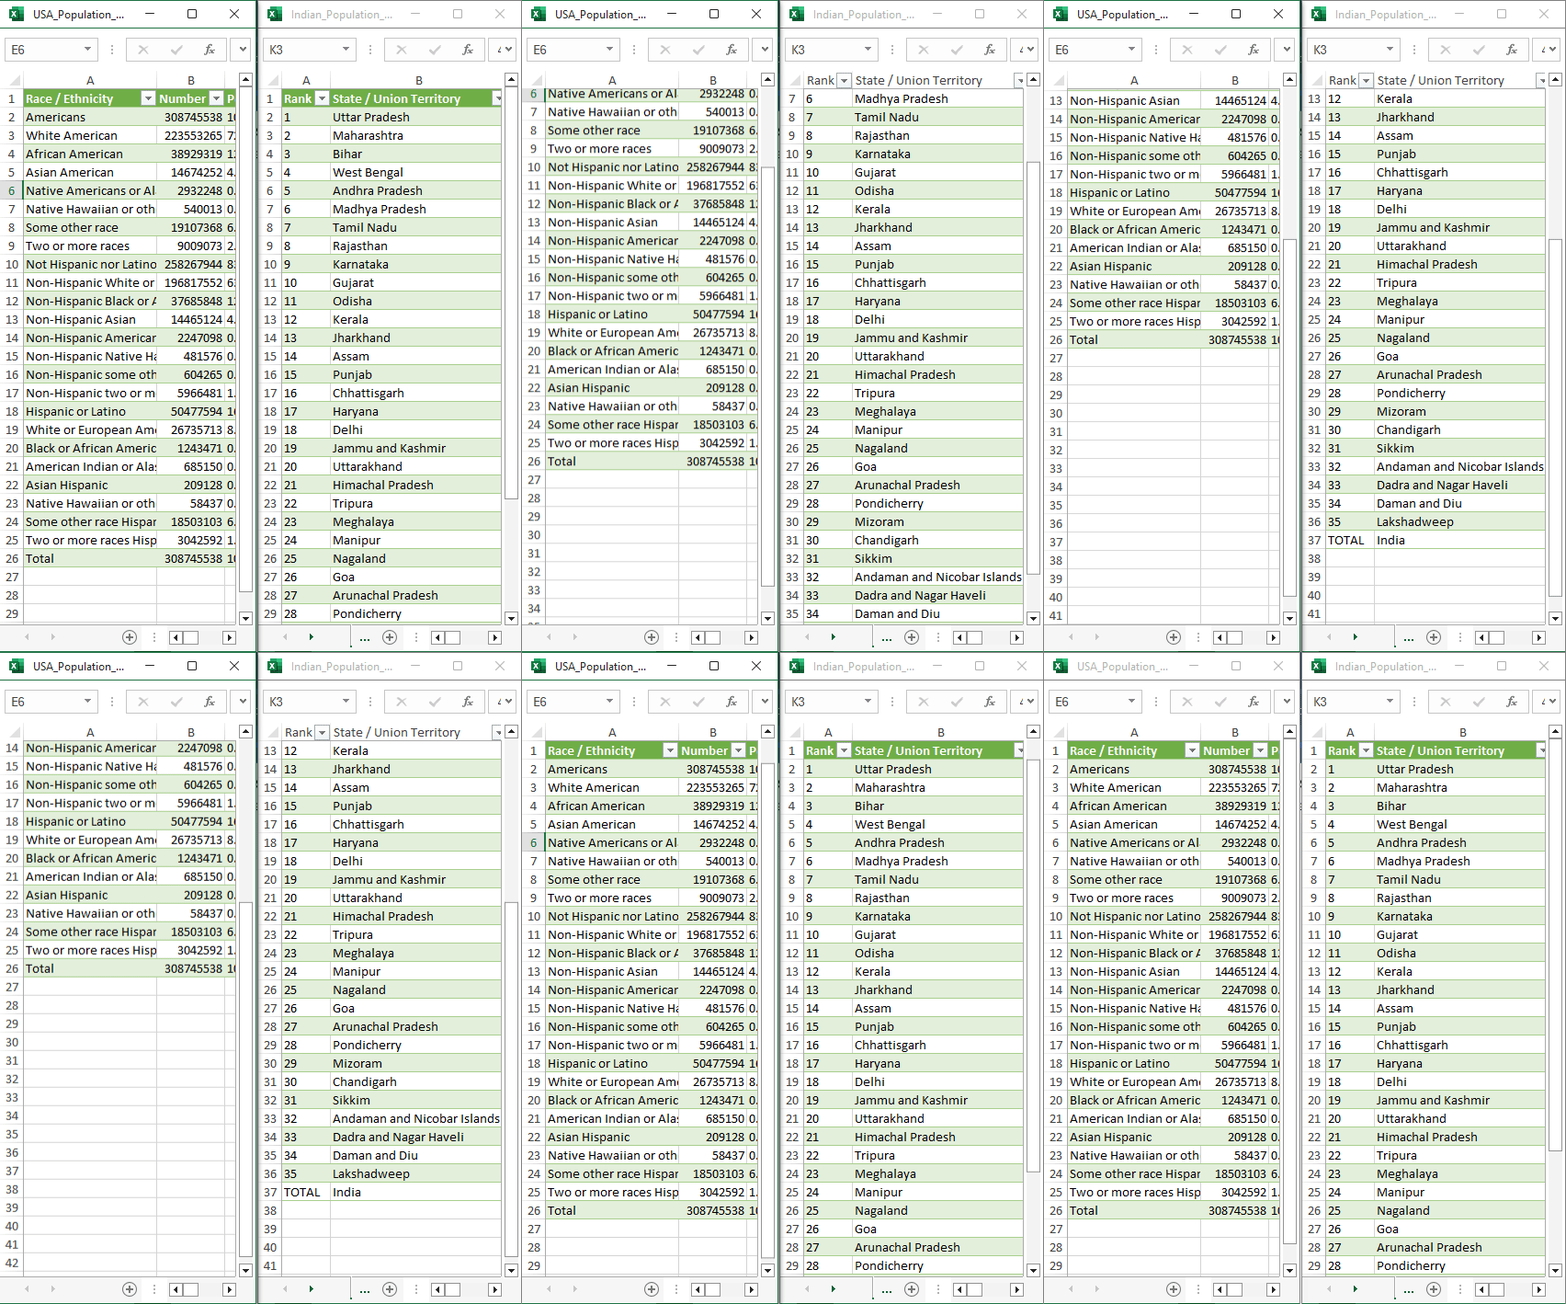
If you have three workbooks open and then synchronize scrolling in the Tiled arrangement, you’ll find that as you scroll in one workbook, the other synchronized workbook will also scroll, maintaining their tiled positions on the screen.
Remember that this method still involves manually arranging the workbooks and synchronizing scrolling between them. Because Excel does not have any feature for automatic synchronous scrolling across multiple workbooks or worksheets.
Case 2: Synchronous Scrolling for Two Worksheets in Same Excel Workbook
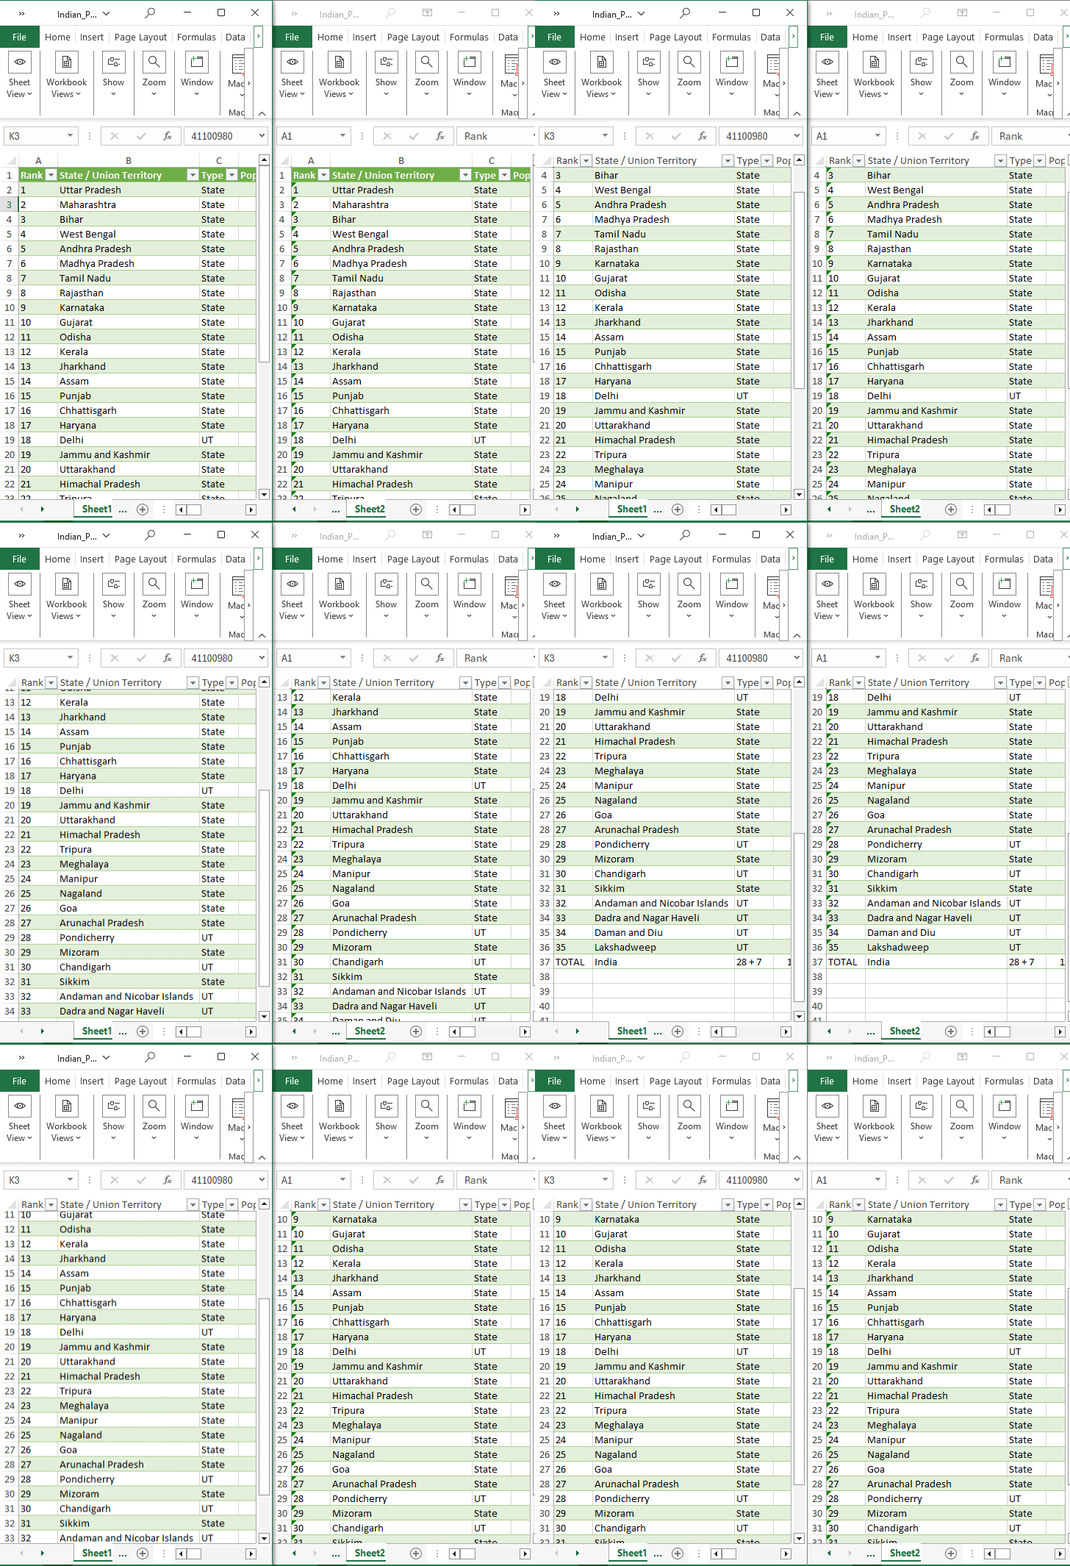
Again, if you need to track and compare data between two worksheets of the same workbook. In that case, you can create a new window and use synchronous scrolling.
For synchronous scrolling between two worksheets of the same workbook, follow the steps below:
- Click View tab > Window group > New Window.
- Select the other worksheet you want to compare.
- Click View Side by Side > Synchronous Scrolling under Window group.
Now, you can scroll through the worksheets simultaneously.
Tips:
- Click Reset Window Position to return to the original settings if your worksheets are resized for optimal viewing.
- Click Maximize at the upper-right corner of the window to return to the full-size window.
How to Enable Synchronous Scrolling When It’s Not Visible in Excel
Sometimes, you may find that the Synchronous Scrolling command is not working or it has grayed out like the image below.
To fix the Excel Synchronous Scrolling being greyed out issue, click the View Side by Side command first and the synchronous scrolling will automatically start.
Here you see, we activated the side-by-side window by following the previous section and the synchronous scrolling has been enabled now. You can turn it on/off manually.
Another reason is that if any active cell remains in your sheet, you will get the Synchronous Scrolling command disabled or grayed out. In the below image, cell B18 is activated in a sheet. That’s why the Synchronous Scrolling command is not working.
The solution is simple. Just release the active cell by pressing the ESC button or by clicking anywhere, and then the Excel synchronous scrolling will work properly.
Conclusion
So that’s it for today folks. The procedures described above will be good enough to view and scroll multiple workbooks simultaneously using Synchronous Scrolling in Excel. Hope you learned a trick or two to make visual comparisons of your data. Leave a comment for further queries.
Frequently Asked Questions
Here are a few frequently asked questions related to Excel synchronous scrolling.
Can I save the side-by-side view setting in Excel?
Excel has no built-in feature to automatically save the View Side by Side setting for workbooks. Each time you reopen Excel or the workbooks, you’ll need to manually set them side by side.
Does synchronous scrolling work with filtered data or tables?
Yes, synchronous scrolling works with filtered data or tables. When scrolling through a range that contains filters or tables, the synchronized sheets will maintain the same relative position.
Is it possible to synchronize scrolling vertically and horizontally at the same time?
No, Excel’s built-in synchronous scrolling supports either vertical or horizontal scrolling, not both simultaneously. You can choose the scrolling direction based on your needs.






No comments:
Post a Comment